Canning apples is a delightful way to capture the essence of fall and enjoy the fruit’s sweet, tangy flavors all year round. Whether you’re a seasoned canner or a beginner, this comprehensive guide will provide you with all the information you need to start canning apples at home. You’ll discover various apple canning recipes, tips on choosing the right apples, and essential canning safety practices.
Selecting the Right Apples for Canning
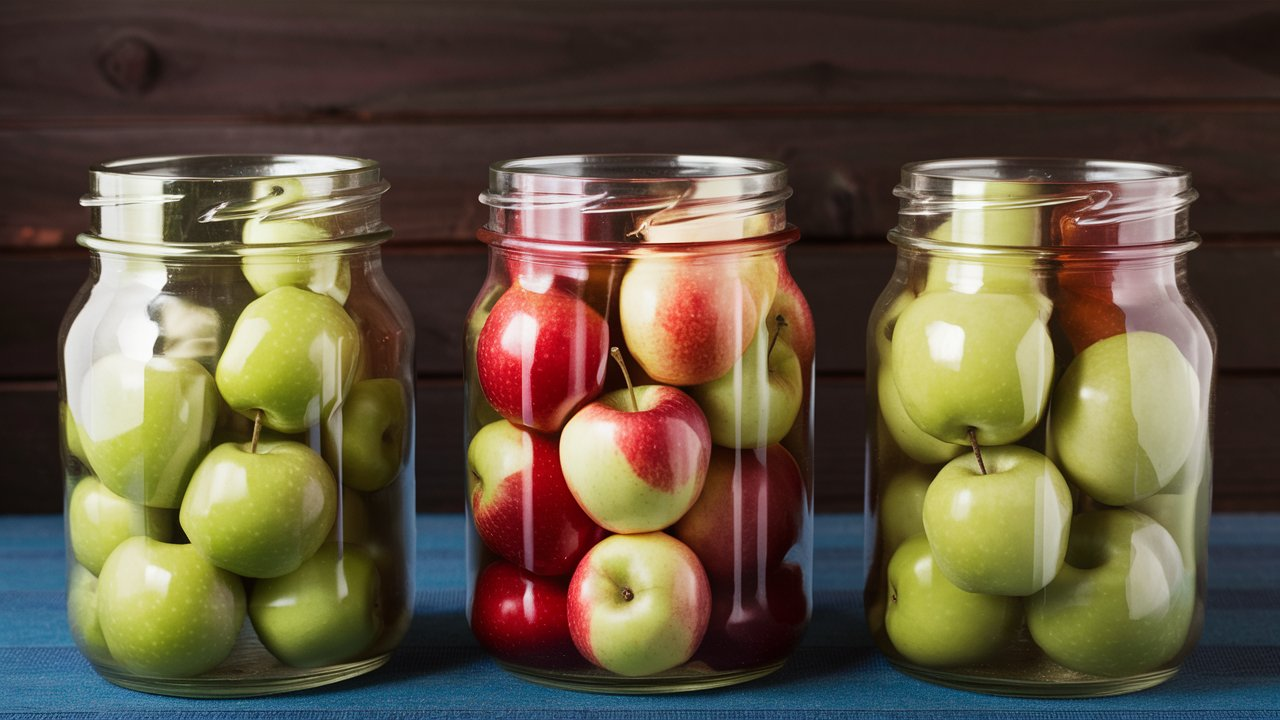
Varieties Best Suited for Canning
When it comes to canning, not all apples are created equal. Some varieties hold up better in the canning process and maintain their texture and flavor. Ideal varieties for canning include:
- Granny Smith: Known for their tartness and firmness, they hold up well in high heat.
- Golden Delicious: Slightly sweet, they soften nicely but retain their shape.
- Jonathan: A balance of sweet and tart, perfect for a more nuanced flavor profile.
Preparing Apples for Canning
Proper preparation of your apples is crucial for quality canned goods. Follow these steps:
- Wash apples thoroughly to remove any pesticides and dirt.
- Peel and core each apple. Slice them uniformly to ensure even cooking.
- To prevent browning, soak apple slices in a solution of water and lemon juice.
Equipment Needed for Apple Canning recipes
Ensure you have the right equipment before you begin. The essentials include:
- A large canning pot
- Glass canning jars with lids and bands
- A jar lifter and a canning funnel
- A bubble remover and headspace tool
Apple Pie Filling: A Classic Recipe
Ingredients and Ratios
To create the perfect apple pie filling, you’ll need:
- 6 cups of peeled, cored, and sliced apples
- 1 cup of sugar
- 2 teaspoons of cinnamon
- ½ teaspoon of nutmeg
- 2 tablespoons of lemon juice
- ¼ cup of cornstarch
Cooking the Filling
Combine all ingredients except the cornstarch in a large pot. Cook over medium heat until the apples are just tender. Mix the cornstarch with water to create a slurry, then stir it into the pot to thicken the filling.
Canning the Filling
Ladle the hot filling into sterilized jars, leaving about half an inch of headspace. Remove air bubbles, wipe the rims, and secure the lids.
Spiced Apple Chutney: A Flavorful Twist
Chutney Ingredients
For a deliciously spiced apple chutney, gather:
- 4 cups of chopped apples
- 1 cup of chopped onion
- 1 cup of raisins
- 1 cup of brown sugar
- 1 cup of apple cider vinegar
- 1 tablespoon of ground ginger
- 1 teaspoon of allspice
Preparing the Chutney
Combine all ingredients in a large saucepan. Cook until the mixture thickens and the apples are tender, about 45 minutes.
Canning the Chutney
Transfer the chutney into prepared canning jars, leaving a quarter-inch headspace. After removing any air bubbles, secure the lids and process in a boiling water bath for 10 minutes.
Apple Sauce: Simple and Sweet
Making the Sauce
Apple sauce is a straightforward recipe that requires minimal ingredients. You’ll need:
- 8 cups of peeled, cored, and chopped apples
- Water or apple cider
- Sugar and cinnamon to taste
Cooking and Blending
Place apples in a pot with just enough water to prevent sticking. Cook until the apples are soft, then mash or blend to your desired consistency. Add sugar and cinnamon.
Canning the Sauce
Pack the hot sauce into jars, leaving half an inch of headspace. After cleaning the jar rims and applying the lids, process the jars in a water bath for 15 minutes.
By following these detailed recipes and guidelines, you can successfully can your own apples at home, ensuring you have a taste of autumn available throughout the year.
Canning Apple Slices: Versatile and Convenient
Preparing Your Apple Slices
Canning apple slices is a fantastic way to preserve their fresh flavor and make them readily available for various recipes throughout the year. Begin by:
- Peeling and coring the apples.
- Cutting them into even slices to ensure uniform cooking and canning.
- Soaking the slices in a lemon water bath to prevent browning.
Syrup for Canning
For canning apple slices, you will need to prepare a light syrup:
- Mix 2 cups of sugar with 4 cups of water.
- Let the syrup cool slightly before using it with the apple slices.
Canning Process
Pack the apple slices into sterilized jars, and pour the warm syrup over them, leaving half an inch of headspace. Remove any air bubbles with a non-metallic tool, then wipe the jar rims, place the lids on, and tighten the bands.
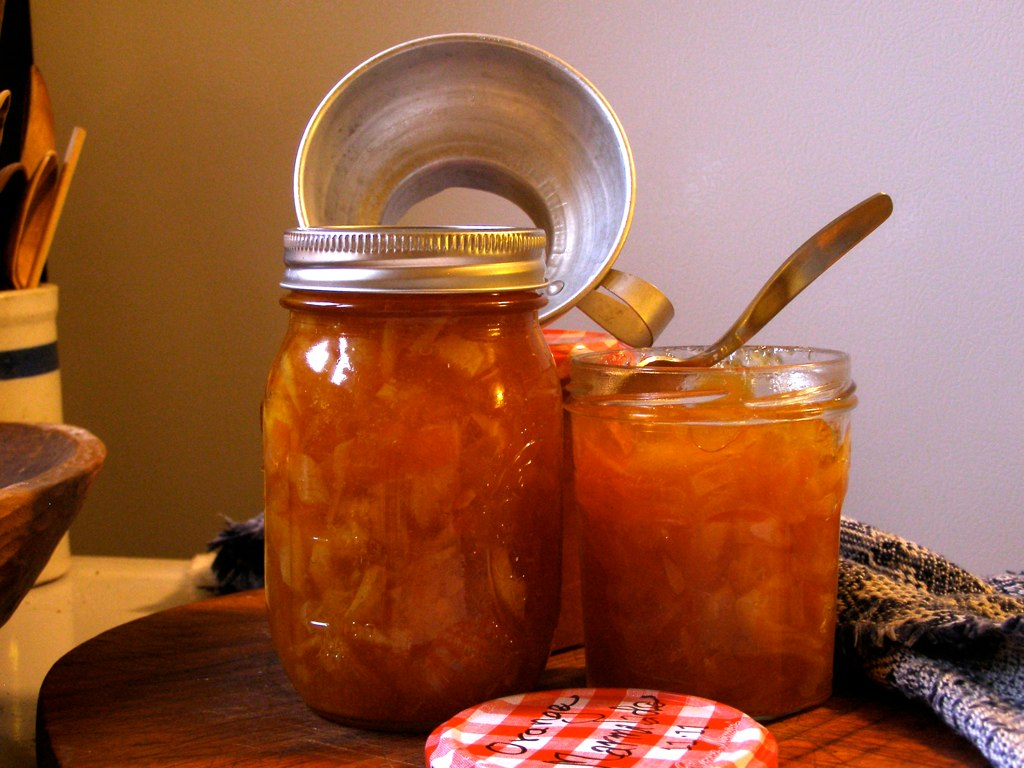
Apple Jelly: A Sweet Spread
Extracting Apple Juice
To make apple jelly, start by extracting the juice from the apples:
- Cut apples into chunks, including the peels and cores, to maximize pectin extraction.
- Add water to cover the apple chunks in a large pot.
- Simmer until the apples are soft and the liquid is richly flavored, then strain through a jelly bag or cheesecloth.
Making the Jelly
With the juice collected, proceed to make the jelly:
- Measure the juice and add sugar in a 1:0.75 ratio (for every cup of juice, use ¾ cup of sugar).
- Bring the mixture to a boil and add pectin according to the package instructions.
- Continue to boil until it reaches the gel point, typically 220°F (104°C).
Canning the Jelly
Pour the hot jelly into prepared jars, leaving a quarter-inch headspace. Clean the jar rims and seal with lids and bands. Process in a boiling water bath for 10 minutes to seal and preserve.
Advanced Tips for Perfect Apple Canning recipes
Ensuring Flavor and Safety
- Use a mix of apple varieties for a more complex flavor profile in sauces and jellies.
- Always ensure your canning equipment is clean and sterilized before starting.
- Follow the recommended headspace and processing times to prevent spoilage and ensure safety.
Storing Canned Apples
- Store your canned apples in a cool, dark place to maintain their quality.
- Check seals before storage and periodically check for any signs of spoilage.
Creative Uses for Canned Apples
Once you have mastered the art of apple canning recipes, the possibilities for using your canned goods are endless:
- Use apple pie filling for quick desserts or to top pancakes and waffles.
- Add spiced apple chutney to meats or use as a base for a savory spread.
- Incorporate apple slices into baked goods or reheat for a warm, comforting side dish.
Maximizing Health Benefits with Home-Canned Apples
Nutritional Advantages of Apples
Apples are a powerhouse of nutrients, providing dietary fiber, vitamin C, and various antioxidants that are beneficial for health. Canning apples at home allows you to control the ingredients, ensuring that your preserves are healthy and tailored to your dietary preferences.
Low-Sugar and Sugar-Free Options
For those monitoring their sugar intake, consider preparing low-sugar or sugar-free versions of your favorite apple canning recipes:
- Use a sugar substitute suitable for cooking to sweeten your preparations.
- Opt for natural spices like cinnamon, nutmeg, and vanilla to enhance the flavor without adding extra calories.
Incorporating Other Healthy Ingredients
Boost the nutritional value of your canned apple recipes by adding other health-promoting ingredients:
- Mix in other fruits like berries for added antioxidants.
- Include nuts or seeds for a boost of healthy fats and proteins in apple desserts.
Seasonal Canning: Embracing the Harvest
Best Times for Canning Apples
The peak season for apples varies by region but generally falls between late summer and early fall. This is the best time to buy apples in bulk from local orchards or farmers markets, ensuring you get the freshest fruit at a good price.
Planning Your Canning Schedule
To make the most of the apple season, plan your canning activities around the availability of different apple varieties:
- Early season apples are often less dense and more tart, perfect for sauces and jellies.
- Late-season varieties tend to be sweeter and more robust, ideal for pies and slices.
Engaging with the Community
Participate in local canning workshops or join canning groups to learn new techniques, share recipes, and enjoy the communal aspect of preserving the harvest.
Troubleshooting Common Canning Issues
Handling Jar Sealing Failures
Jar seals can fail for several reasons; here’s how to troubleshoot:
- Ensure the rim of the jar is free of any food residue before placing the lid.
- Check that the lids and bands are correctly fitted and not overly tightened.
Managing Texture Changes
Sometimes canned apples can become too soft or mushy:
- Choose apple varieties known for their firmness after cooking.
- Adjust the slicing thickness and cooking time to better suit the type of apple.
Preventing Discoloration
Apples may brown after canning if not treated properly:
- Use a sufficient amount of lemon juice or ascorbic acid in your canning liquid.
- Process the jars according to the recommended times to minimize exposure to air.
Conclusion: Celebrating Home-Canned Apples
Canning apples is more than just a method of preservation—it’s a way to celebrate the bounty of the season and create lasting memories. Whether you’re preparing a batch of apple jelly or filling your pantry with spiced apple chutney, each jar represents the care and effort you’ve put into preserving the best flavors of fall.
As you refine your canning skills, you’ll not only develop a deeper appreciation for homemade preserves but also ensure that you have
delicious, healthful options readily available throughout the year. Embrace the art of canning and make each season memorable with your homemade apple creations.
You can get more burrata recipes from here: